FREE DOMESTIC SHIPPING ON ORDERS $99+ | 100% SATISFACTION GUARANTEED
FREE DOMESTIC SHIPPING ON ORDERS $99+ | 100% SATISFACTION GUARANTEED
A column with no settings can be used as a spacer
Link to your collections, sales and even external links
Add up to five columns
A column with no settings can be used as a spacer
Link to your collections, sales and even external links
Add up to five columns
Add description, images, menus and links to your mega menu
A column with no settings can be used as a spacer
Link to your collections, sales and even external links
Add up to five columns
Add description, images, menus and links to your mega menu
A column with no settings can be used as a spacer
Link to your collections, sales and even external links
Add up to five columns
Add description, images, menus and links to your mega menu
A column with no settings can be used as a spacer
Link to your collections, sales and even external links
Add up to five columns
Add description, images, menus and links to your mega menu
A column with no settings can be used as a spacer
Link to your collections, sales and even external links
Add up to five columns
8 DIYs That Took Us Under A Minute To Make
October 25, 2016 7 min read

For the DIY lover
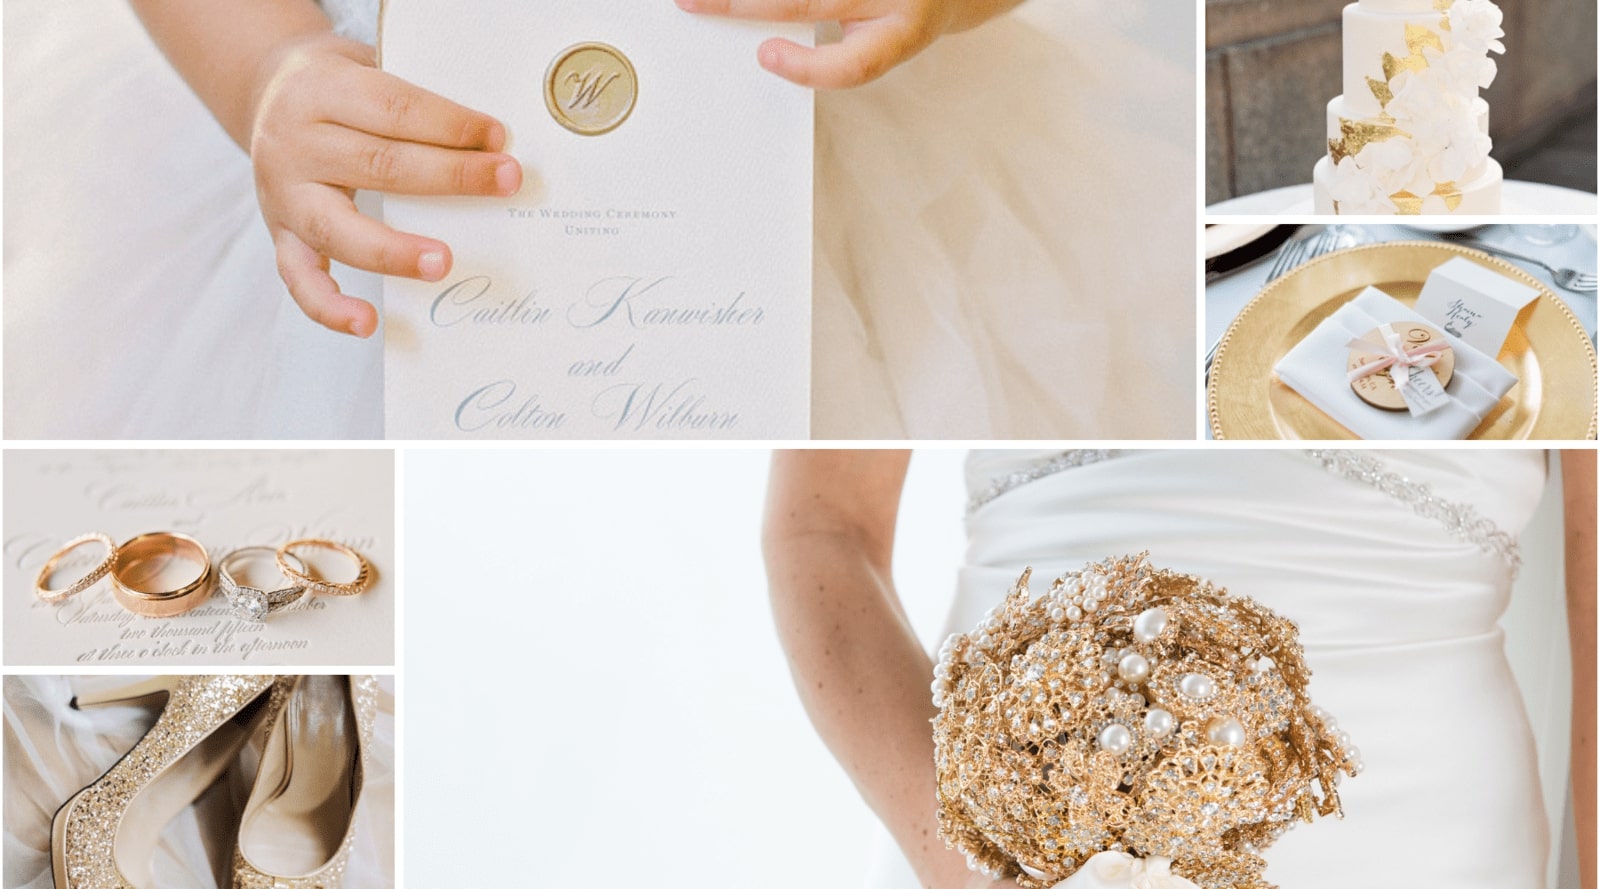
For those of you who don’t already know, we recently launched our lookbook and we’re very proud of it. It was a collaboration between Totally Dazzled and Distinct Occasions that worked out perfectly and we just can’t wait to work on our next lookbook. We’ve already posted some of the images from the lookbook on our social media channels so some of these pics will be familiar. However, I really wanted to showcase just how easy it is to put amazing wedding concepts together and believe it or not, we had a few that took us under a minute to make.

Credits: Totally Dazzled Lookbook Vintage Pink and Pearl
Of course, we put a lot of effort and time into creating a well-considered concept but once we’d decided on the theme for each project, putting them together took very little time. These projects are the kind you can do at home on your own in under a minute. Here they are:
A Stunning Ring Bearer Pillow

We used a simple white satin pillow and decorated it with a (thin) purple satin ribbon, multiple layers of flowers cut out from a gloriously textured sheer material, and our silver flower wedding button. You could get really creative and change the material type and texture; color of the ribbon; and even the shape of the flower to achieve different looks for your ring bearer pillows.
For a sturdy pillow that won’t break midway down the aisle, it’s best to sew the items together using the hole at the back of the button. If your sewing is not really up to par, don’t worry, the front of the button will cover the smaller slip ups quite nicely so no-one will ever know what it looks like under the button. You could also glue the items together but be sure to work neatly if you choose to do this as the glue may stick to the sheer material you use.
By using one of our brooches and simply pinning everything in place, you could further cut production time down.
Gorgeous Wedding Shoes

This was probably the quickest DIY of the lot. You’ll need a pair of shoes and two rhinestone brooches. We used the antique starburst rhinestone brooch for its flair and because it’s nice and big. Using a large brooch will ensure that the sparkle on your lovely DIY shoes will be seen even when people are looking from a distance but, of course, you should choose the embellishment that suits your look and character the best. We chose a pair of shoes that already had a sparkle element to it but any type of shoe will do.
This lovely DIY is a great idea for a bride, bridesmaids, and even for you as a guest if you’d like to dress your shoes up a little. It makes for a very memorable photograph and a cost-effective idea for a fantastic pair of wedding shoes.
A Lovely Embellished Dummy Cake

Very often brides opt for a copy of their wedding cake as a dummy specifically for photographing during the event. Even if you don’t necessarily want a carbon copy of your cake but you’d like something special to photograph or simply want a dummy cake on the table, it’s super simple to make something spectacular.
Our dummy cake uses soft hues, pearl embellishments, and layered texture variations of flower decorations for dimension. We added the flower rhinestone pearl brooch as the most prominent embellishment, and created a layered look using the circle diamante flat back as well as the round rhinestone flat back.
Due to the fact that no-one will be eating the dummy cake and few people will come close to it, you can use a glue gun to glue the pieces together. If you’d like to ensure that your rhinestone embellishments don’t fall off, glue them to your rosettes first and leave them to dry. Go make a cup of tea and come back in 15 to glue the flower with the embellishment now firmly glued to the center to the dummy cake. And there you have it.
A Unique Chair Decoration

This design couldn’t be simpler and it’s so fun to make in bulk. Simply purchase layered pearls (we chose white pearls that varied in size on the string for added depth and character), arrange the string of pearls on the chair in the way you’d like them to look and add two of your favorite brooches. In this image, we used the flower rhinestone pearl brooch (gold) in sticking with the color theme of this project.
This is another DIY that you can get really creative with. The design of the chair, the color of the chair, the different types of pearls or beads that you use and the rhinestone embellishments that you choose can add variation to your pearl back DIY chair sashes. Go all out and have fun!
Simply tie the string of pearls to each side of the chair to hold them in place. You can pin the brooches directly onto the string of pearls or glue them in place with a spot of hot glue.
Gorgeous Golden Wedding Favors

Depending on how you want to go about making your wedding favors, this could take you little to no time or you could invest quite a bit of time in creating boxes like these from scratch. There are plenty of stores which sell these little boxes ready-made and you could purchase them as they are and simply add a ribbon. You could also make these yourself using origami instructions or a specialized template and card-stock.
It’s always a great idea to use your colors in shades or different textures as seen in this image with the glitter on the bottom of the box and the smooth satin feel of the top box.
This just gives it that lovely luxurious feel and shows that you’ve put some thought into your wedding favors. We used a beautiful gold ribbon with a lovely shine to accompany our gold diamante flower brooch and offset it a little to one side. These golden wedding favors are incredibly lovely and bring a table setting to life. It's a great way to thank guests for attending your wedding or event and the brooch is an added bonus that your guests will want to hold onto for sure.
Note that if you can’t find a double color box like this one, purchase two different boxes and mix and match the bottoms with the lids.
Bridesmaids Shoes And Matching Clutch Set

We used the round rhinestone pearl flat back to create a timeless look to this shoe and bag set. This is a great gift to give to your bridesmaids and will ensure that you have a unified look and feel on your wedding day if that’s what you’re going for. We suggest that you start with a pair of shoes that you like but feel could use just a little something extra and work from there. Also remember to make a note of the jewelry you’ll be wearing at the wedding so that your shoes and handbag are somewhat in step with your other pieces.
For this DIY, all that you need is a handful of Flat Back Rhinestone Embellishments of your choice (even brooches will do if you want to make it a little easier) and a glue gun. Ensure that your pieces are well glued and won’t fall off if lightly brushed up against something. We recommend E6000 glue for the strongest bond.
A Blinged-Up Garter

Add a touch of elegant bling to your garter for that special photo moment. A garter is pretty personal – even though everyone gets to see it. Most brides want to show off their own style here too and not just have something plain. If you’ve found the garter for you but you feel you want to liven it up with a splash of sparkle, then using a Rhinestone brooch is possibly the easiest way to do so. We used the gold crystal buckle slide with a cute white ribbon on this garter.
A gasp-worthy guest book

Getting your guests to log their encouraging words in your guest book is a great way to remember those who attended and gather some warmth and love for the exciting times ahead. There are some stunning ideas out there that range from the classic elegant guestbook to the totally unique cork heart messages. All of them are fantastic. Here’s a quick tip if you’re opting for something simple, though, why not add a few of your favorite rhinestone embellishments to the guest book cover? We used snowflake flat backs for a winter wedding but again, there’s just no end to how you can style the cover of your book using a variety of embellishments. We used the following three snowflake flat backs for this arctic white book cover: The diamante snowflake flat back; The christmas rhinestone flat back and the diamante snowflake flat back.
If you’ve made any of these quick DIYs recently, why not share it with us on Instagram using #TotallyDazzled?


