FREE DOMESTIC SHIPPING ON ORDERS $99+ | 100% SATISFACTION GUARANTEED
FREE DOMESTIC SHIPPING ON ORDERS $99+ | 100% SATISFACTION GUARANTEED
A column with no settings can be used as a spacer
Link to your collections, sales and even external links
Add up to five columns
A column with no settings can be used as a spacer
Link to your collections, sales and even external links
Add up to five columns
Add description, images, menus and links to your mega menu
A column with no settings can be used as a spacer
Link to your collections, sales and even external links
Add up to five columns
Add description, images, menus and links to your mega menu
A column with no settings can be used as a spacer
Link to your collections, sales and even external links
Add up to five columns
Add description, images, menus and links to your mega menu
A column with no settings can be used as a spacer
Link to your collections, sales and even external links
Add up to five columns
Add description, images, menus and links to your mega menu
A column with no settings can be used as a spacer
Link to your collections, sales and even external links
Add up to five columns
Reina Moe Wedding Brooch Bouquet DIY Tutorial
November 04, 2017 3 min read

This timeless brooch bouquet will make any bride happy
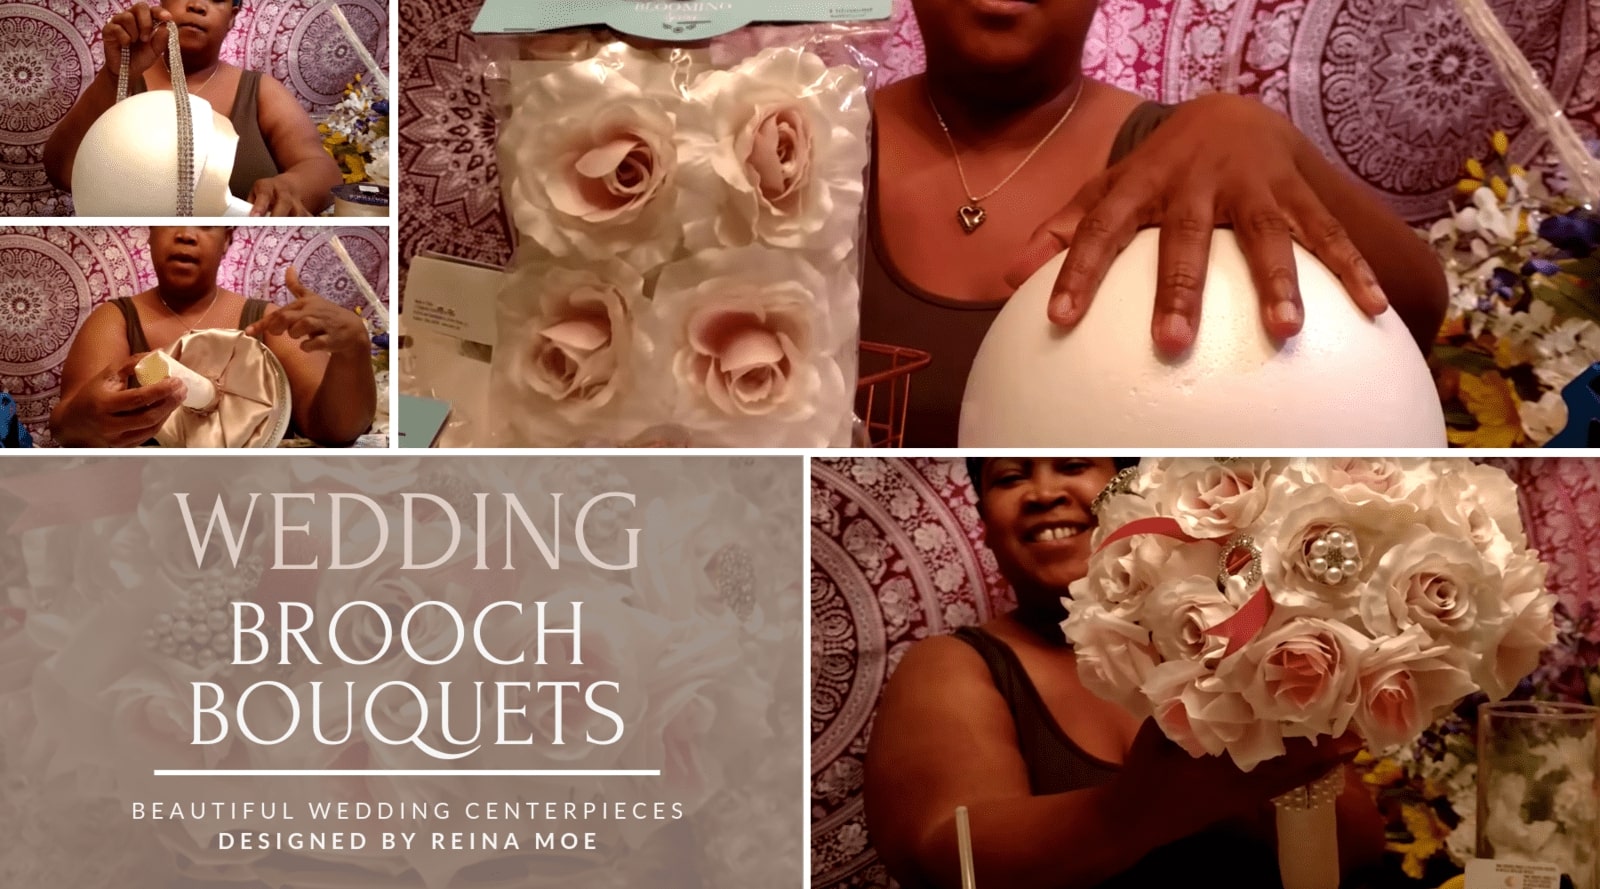
Reina Moe, in preparation for her own wedding, has created a fantastic brooch bouquet tutorial that takes us step by step through the process of putting together a stunning, timeless floral bouquet fortified with bling…just the way we like it.
The brooch bouquet itself is absolutely stunning and Reina Moe makes it look super easy to put together this project. Before she gets into the nitty-gritty of creating the wedding bouquet, she mentions the items you will need as well as where to purchase it, for those of you who are looking to create your own wedding bouquets similar to hers.

You will need to purchase
- A Styrofoam ball and plate (the plate serves as the base of the bouquet, so be sure to purchase something that leans more towards the thick side.)
- Styrofoam handles. You could use a wooden dowel for this project as well if you wanted to.
- A length of satin as well as ribbon (Reina Moe used a satin ribbon that complements the satin she bought for this project)
- A glue gun with some strong glue sticks (remember guys that some of our rhinestone pieces are quite heavy due to their good quality, so be sure to make use of a strong glue – E6000 glue works just as well.)
- A selection of rhinestone products – Reina Moe has made use of a variety of rhinestone products that she intends to repurpose down the line and offers some handy tips on how to include the specific items in the bouquet without ruining the items.
Take a look at the gorgeous brooch bouquet by Reina Moe
For the floral arrangement, Reina Moe has made use of off-white and pink roses. These colors look very elegant against the champagne-colored satin that she chose for the base of her wedding bouquet. As we all, well know, a simple change in color combinations and the way the colors are used together can make all the difference. One of the first things I noticed is how Reina Moe layered the colors from dark to light, really adding a whole lot of dimension to the bouquet with this simple trick.
To kick it up a notch, she’s included special bling pieces like the silver vintage crystal brooch; the diamante flower brooches (both in gold and silver); the antique starburst rhinestone brooch (as well as the antique starburst napkin ring), the diamante leaf feather brooch, the round rhinestone flat back, the flower rhinestone and pearl flat back, the diamante bar buckle slider and the double diamante circle buckle which she paired with pink ribbons in her design, really taking her time to consider where each piece would look best. The bulk embellishments are also a great way of adding variety to your bling selection without the hassle of hand-selecting each item.
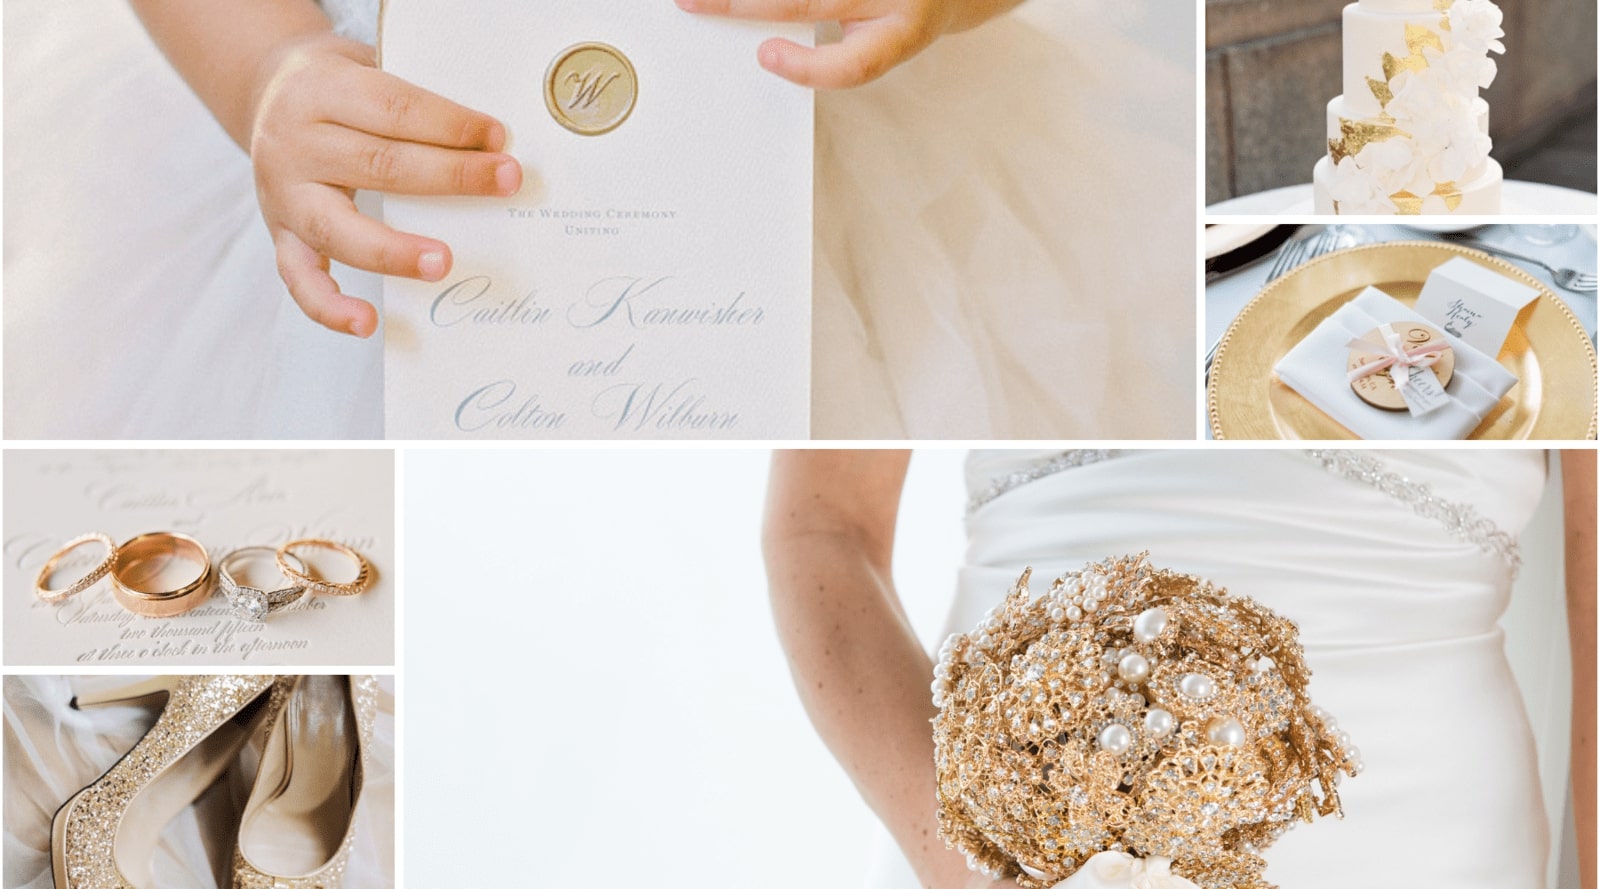
What I love most about this brooch bouquet is its sheer elegance. All the individual items that Reina Moe made use of complement each other in such a way that the final product is absolutely stellar. Adding pearl pieces to the mix also gives the design a gentler more timeless feel.


Get in Touch with Reina Moe
Reina Moe’s videos have been populating the blog for quite some time now and I can’t help but get a fresh surge of excitement every time we share a new one. For more DIY videos and tutorials like this one, visit the Reina Moe DIY'in It Designs YouTube Channel. Don’t forget to follow her on Google Plus for daily inspiration.


