FREE DOMESTIC SHIPPING ON ORDERS $99+ | 100% SATISFACTION GUARANTEED
FREE DOMESTIC SHIPPING ON ORDERS $99+ | 100% SATISFACTION GUARANTEED
A column with no settings can be used as a spacer
Link to your collections, sales and even external links
Add up to five columns
A column with no settings can be used as a spacer
Link to your collections, sales and even external links
Add up to five columns
Add description, images, menus and links to your mega menu
A column with no settings can be used as a spacer
Link to your collections, sales and even external links
Add up to five columns
Add description, images, menus and links to your mega menu
A column with no settings can be used as a spacer
Link to your collections, sales and even external links
Add up to five columns
Add description, images, menus and links to your mega menu
A column with no settings can be used as a spacer
Link to your collections, sales and even external links
Add up to five columns
Add description, images, menus and links to your mega menu
A column with no settings can be used as a spacer
Link to your collections, sales and even external links
Add up to five columns
Wedding Decoration - DIY Bling Centerpieces
March 03, 2017 2 min read

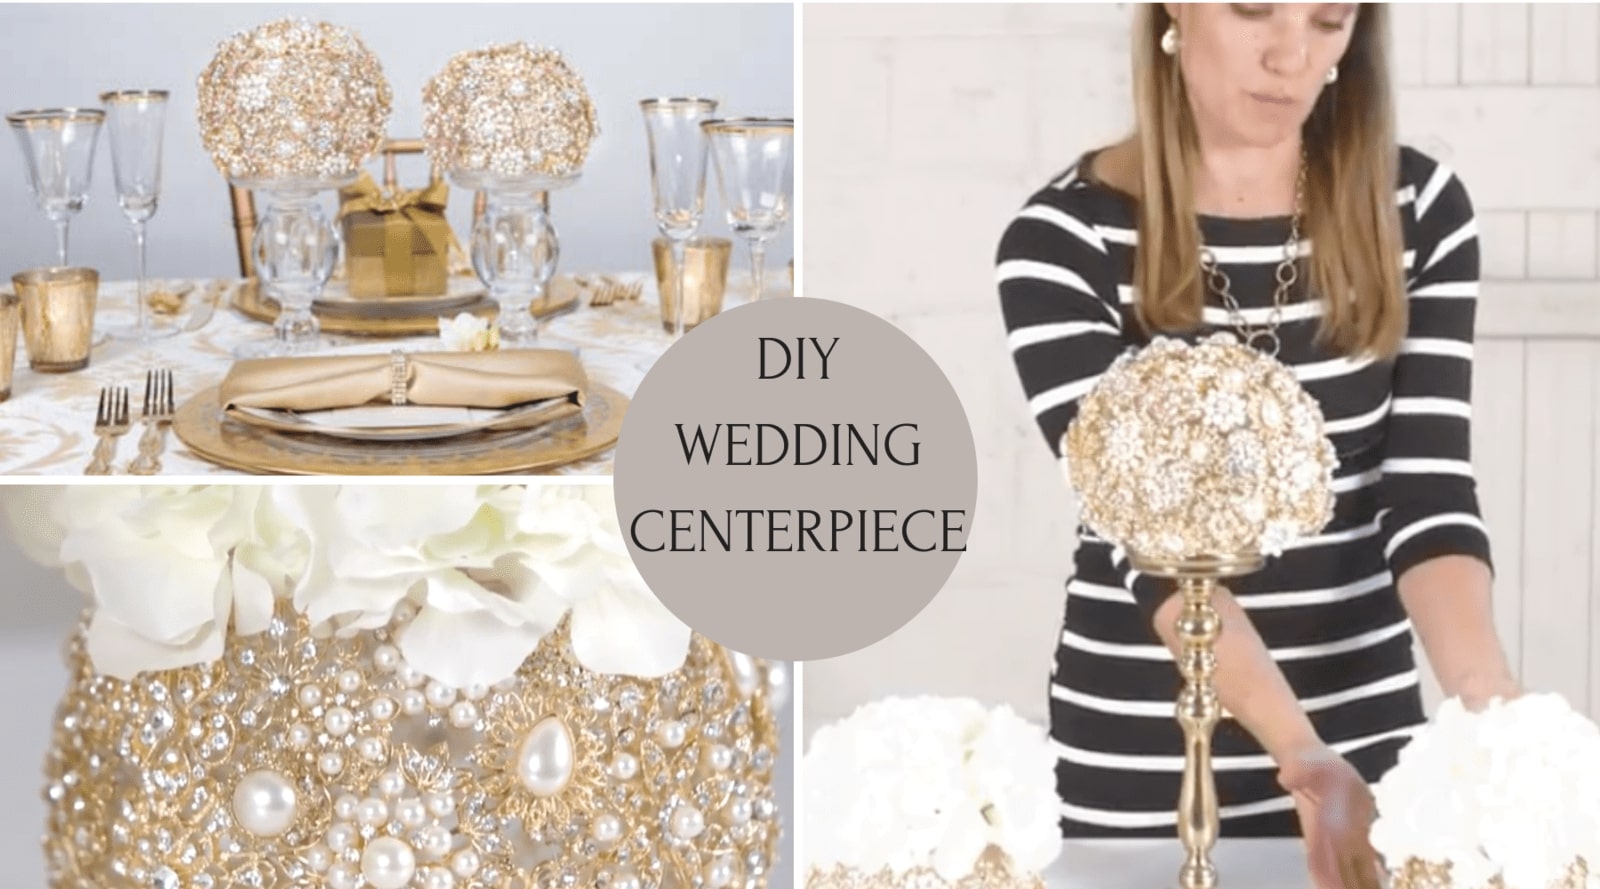
Absolutely gorgeous bling wedding DIY - an original centerpiece by Totally Dazzled
Today's tutorial is a new take on the stunning brooch ball centerpieces we set up last week in our easy tutorial for wedding centerpieces. Inspired by the many amazing brooch bouquets we’ve seen in inspiration images over the last year, these DIY bling centerpieces combine the glamour of bling with the sophisticated feel of fresh flowers.
I absolutely love this idea, it’s glamorous, looks gorgeous on the table and is the bling girl’s perfect centerpiece. Pair this with stunning, eye catching elements like grand candlesticks and the brooch ball centerpiece as well as gorgeous, flowing fresh flowers and you have a breath taking wedding centerpiece, perfect for a bride who wants to feel like an absolute princess on her big day.
Take a look at our brooch ball vase centerpiece DIY video
For today’s tutorial, I’ve used an assortment of gold brooches and buckle slides of varied styles and sizes to give it that gorgeous layered and designed look that we all love so much.
In order to make your DIY brooch ball vase centerpiece you’ll need:
- Round globe shaped vase
- An assortment of brooches and buckles – we used some from our gold collection here.
- A glue gun and pro strength glue sticks. The stronger the glue, the better as some of the pieces are a little heavy. To ensure a strong stick, do make use of the strongest glue you can find. E6000 glue also works wonders.
- Wire clippers
We’ve used a perfectly round vase, but, of course, you could very well play around with the shape of the vase a little bit too. Using a round vase allows for an easier design but if you’re willing to invest a little time to play around, you could successfully pull this off using other shape vases.
Quick Ideas
- While the vase looks absolutely gorgeous placed directly on the table and doesn’t need very much more than a stunning arrangements of flowers, you can kick it up a notch by placing it atop a candlestick. Play around with different candle stick sizes and styles to get the look you’re going for.
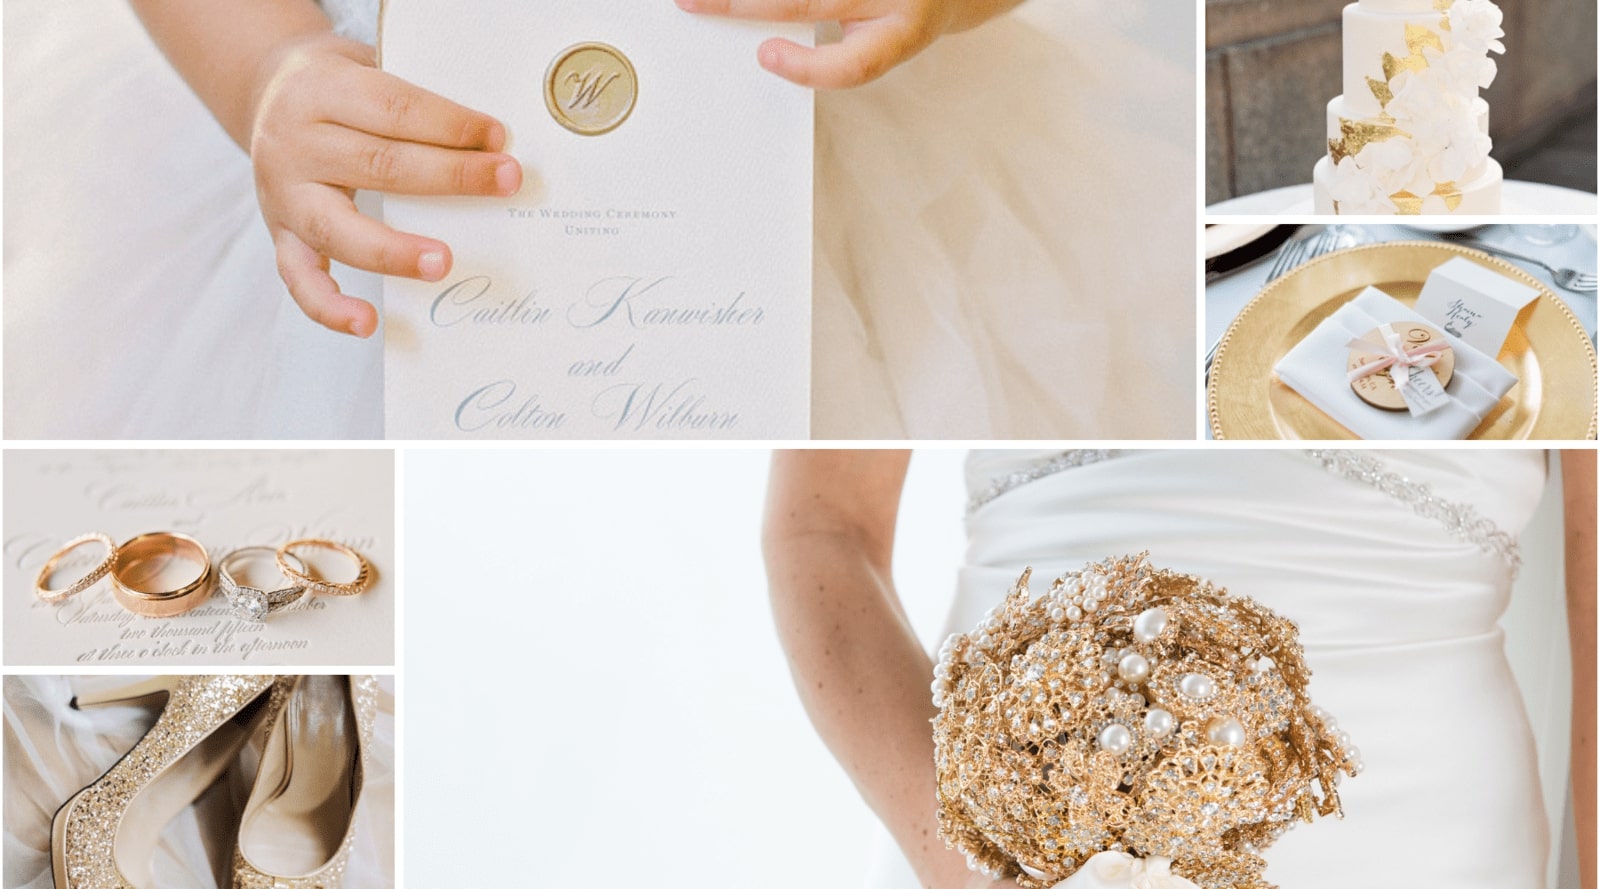
- Changing the assortment of bling can also drastically change the look, so choose pieces that suit your theme and communicate the atmosphere you’re trying to create.
- Play around with floral arrangements to give your vase a total different look and feel. We made use of white floral arrangements that look sophisticated set against the gold vases but both the style and color of the floral arrangements will also change the look of each centerpiece dramatically.
Shop the Rhinestone Products we used in our centerpiece
Take a look at our Lookbook 2016 Pinterest Board


