FREE DOMESTIC SHIPPING ON ORDERS $99+ | 100% SATISFACTION GUARANTEED
FREE DOMESTIC SHIPPING ON ORDERS $99+ | 100% SATISFACTION GUARANTEED
A column with no settings can be used as a spacer
Link to your collections, sales and even external links
Add up to five columns
A column with no settings can be used as a spacer
Link to your collections, sales and even external links
Add up to five columns
Add description, images, menus and links to your mega menu
A column with no settings can be used as a spacer
Link to your collections, sales and even external links
Add up to five columns
Add description, images, menus and links to your mega menu
A column with no settings can be used as a spacer
Link to your collections, sales and even external links
Add up to five columns
Add description, images, menus and links to your mega menu
A column with no settings can be used as a spacer
Link to your collections, sales and even external links
Add up to five columns
Add description, images, menus and links to your mega menu
A column with no settings can be used as a spacer
Link to your collections, sales and even external links
Add up to five columns
Wedding Decoration DIY Tutorial Rhinestone Mesh Wrap Candle Holders
July 08, 2016 2 min read
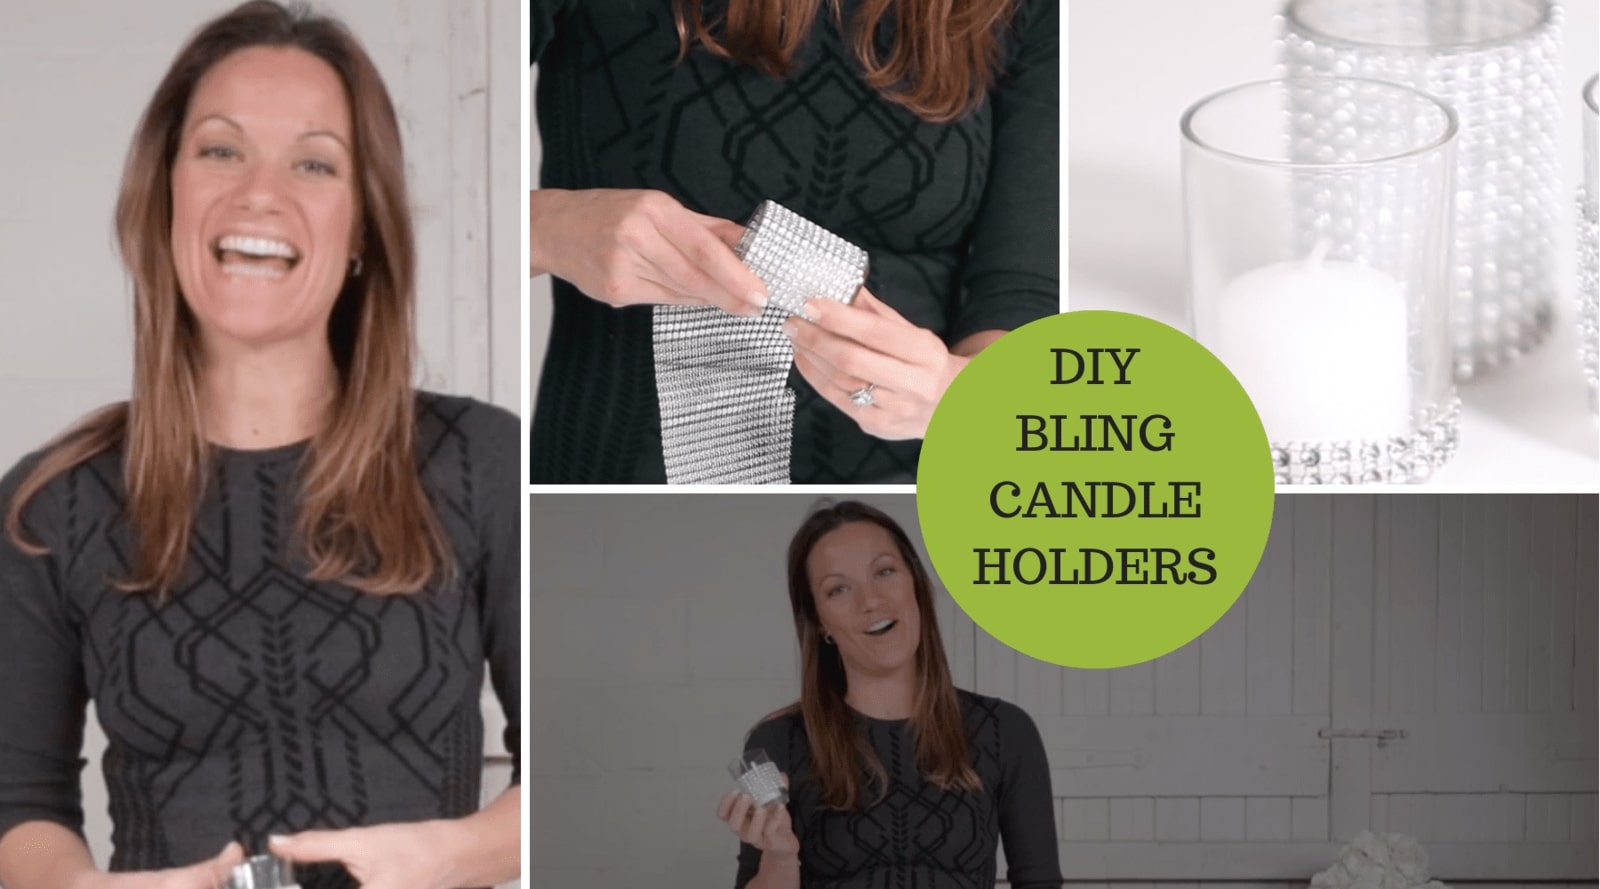
Make stunning table decorations with Rhinestone Mesh Wrap and simple candle holders
Candles really set the scene. I’ve always felt like I’m walking straight into a fairytale event when I see lit candles with beautiful décor elements around them. If that’s the kind of look you’re going for, the romantic fairytale dream, then this candle wrap holder tutorial is just for you.
Actually, it’s not just a fairytale themed wedding, event or big party that will benefit from this tutorial and whether you light your candles or not, this DIY will help you set the scene and add a gorgeous finish to your tables and décor. The best part about this DIY is that any left-over candles can be taken home and used over and over again so nothing goes to waste and you’ll really get to enjoy this project for as long as possible.
Wrap candle holders come in all different shapes and sizes and you can embellish your candle holders just the way you want to – we recently partnered with Jenny from Craft Test Dummies where she made a great beach-themed candle holder, along with other DIYs, and wrapped it very uniquely in sand. But today’s tutorial is possibly the easiest way embellish your candles.
In order to make your wrap candle holders you’ll need
- Votive candle holders
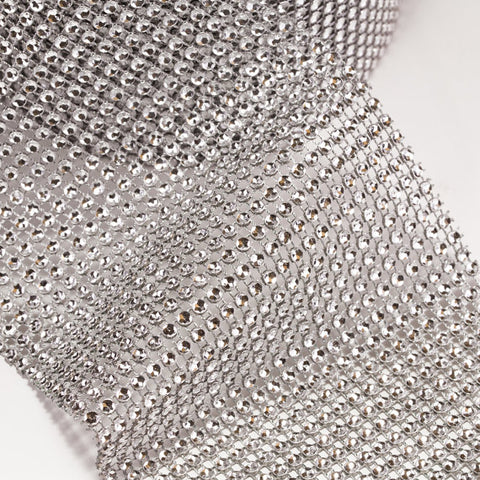
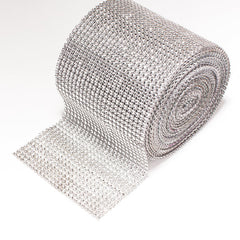
- A length of Rhinestone Mesh (we sometimes call it Bling-On-A-Roll)
- A pair of scissors
- Glue dots, a glue gun or E-6000 glue, whichever you prefer working with.
If you’d like to save even more time, cut all the pieces to size by using the first piece you’ve cut as a guide for the rest after you’ve ensured that the original piece is the right size.
Quick inspiration
- Adding different widths and candle shapes to your décor can create a stunning layered look to your décor.
- The rhinestone mesh on its own already brings your wrap candle holders to life but you can add special elements like flowers, beautiful rhinestone brooches, ribbons and so much more to add dimension to your décor.
- Arrange your candles in three or four using different heights to create a stunning focal point.
- This tutorial can be used on any number of objects with the same shape. Drinking glasses, wedding favors, flower arrangements and centerpieces can all be embellished with a bit of bling.
Have fun making your beautiful wrap candle holders. We’d love to see what you’ve made – if you’d like to share your images with us, don’t forget to use the #totallydazzled hashtag.
Subscribe to the Totally Dazzled Youtube channel for more easy DIY's like this one.


