FREE DOMESTIC SHIPPING ON ORDERS $99+ | 100% SATISFACTION GUARANTEED
FREE DOMESTIC SHIPPING ON ORDERS $99+ | 100% SATISFACTION GUARANTEED
A column with no settings can be used as a spacer
Link to your collections, sales and even external links
Add up to five columns
A column with no settings can be used as a spacer
Link to your collections, sales and even external links
Add up to five columns
Add description, images, menus and links to your mega menu
A column with no settings can be used as a spacer
Link to your collections, sales and even external links
Add up to five columns
Add description, images, menus and links to your mega menu
A column with no settings can be used as a spacer
Link to your collections, sales and even external links
Add up to five columns
Add description, images, menus and links to your mega menu
A column with no settings can be used as a spacer
Link to your collections, sales and even external links
Add up to five columns
Add description, images, menus and links to your mega menu
A column with no settings can be used as a spacer
Link to your collections, sales and even external links
Add up to five columns
Baby Shower Block Letters by The Glamorous Penny Pincher
June 13, 2018 3 min read
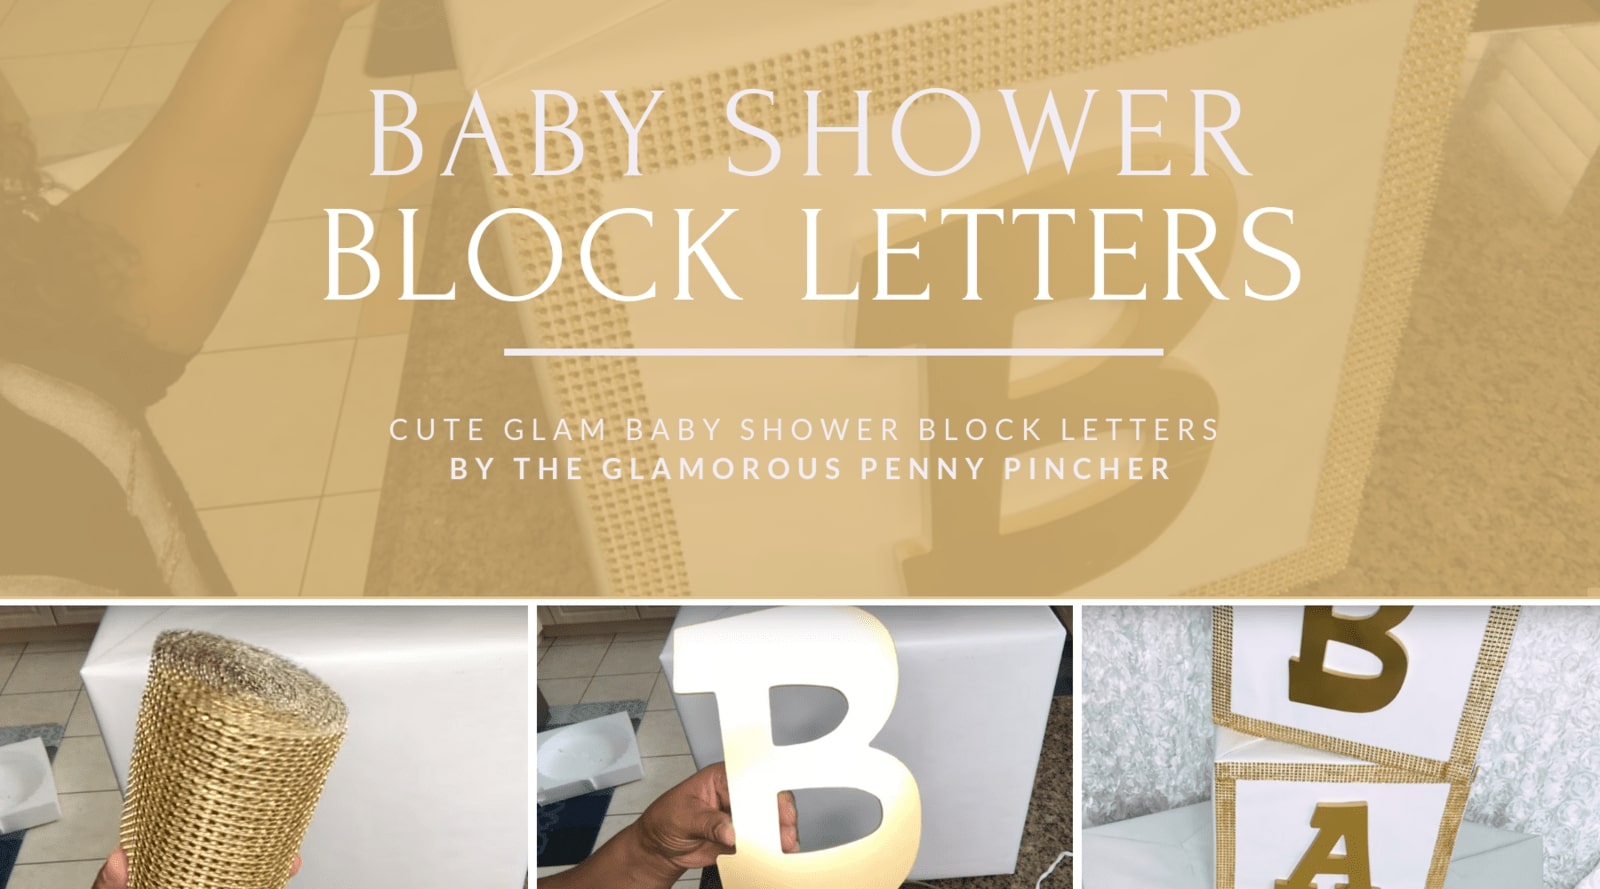
Cute block letters for your next baby shower or birthday party
I absolutely love the new videos that our awesome customers and YouTube friends share with us. Today’s YouTuber is The Glamorous Penny Pincher with an awesome baby shower block letter DIY tutorial.
This fantastic tutorial is beyond easy to make, totally glam and 100% budget friendly. These block letters are great for baby showers, birthday parties, and any other themed event. Even though the Glamorous Penny Pincher did not mention it in her video, I think these block letters would be great in a nursery or as part of day-care décor. Using stronger boxes, perhaps wooden boxes, you can create all kinds of amazing home décor items this way.

To get started, you’ll need a few items:
- A box, The Glamorous Penny Pincher has used a 14x 14x 14-inch box as it provides a perfect cube. You can use any size that suits your theme or needs. These boxes were bought from Staples at $5 each.
- Wrapping paper to wrap the box. The white wrapping was used in the video. It’s also possible to spray paint the desired color.
- Wooden letters – bought from the Hobby Lobby – spray painted gold or any color of your choice.
- Totally Dazzled’s bling mesh in gold.
- A glue gun
- And a pair of scissors
After wrapping the box with the white wrapping paper, the glam penny pincher cut a length of gold bling wrap to fit the box corner to corner. The bling mesh ribbon is very easy to measure and cut and cutting desired widths is as easy as counting the rows of rhinestones you’d like to include in the width of your ribbon.
Gluing the bling mesh ribbon to the sides of the box, using a glue gun for a strong stick is a great idea, otherwise, e-6000 glue will work just as well. As a final touch, The penny pincher also glued the letters to the center of the box.
Take a look at the Baby Shower Block Letters DIY video
In this video, The Glam Penny Pincher only decorated one side of the box so as to keep it cost-effective. If your project requires a 3-D look and will be viewed from all sides, you could decorate all sides of the boxes as well.

All in all, I absolutely love this DIY. There are so many different ways to customize this to suit your needs from color options to a different size box, you can totally take this foundation and make something absolutely glamorous with a very little cost for your next baby shower or birthday party. Just a few ideas for practical applications that spring to mind are card boxes for birthday parties with the child’s name in wooden letters on it. I’m tempted to create a savings box like this for my daughter too!

Let your mind run wild with creativity on this project.
Get In Touch With The Glamorous Penny Pincher
The Glam Penny Pincher has a fantastic variety of home, party, and event décor ideas on her YouTube Channel. Be sure to follow her Instagram and Facebook pages as well as inspiration. We’ve also got another exciting wedding DIY from her coming soon where she uses the bling wrap to create gorgeous wedding boxes. A must see so stay tuned on the blog for that post.
