FREE DOMESTIC SHIPPING ON ORDERS $99+ | 100% SATISFACTION GUARANTEED
FREE DOMESTIC SHIPPING ON ORDERS $99+ | 100% SATISFACTION GUARANTEED
A column with no settings can be used as a spacer
Link to your collections, sales and even external links
Add up to five columns
A column with no settings can be used as a spacer
Link to your collections, sales and even external links
Add up to five columns
Add description, images, menus and links to your mega menu
A column with no settings can be used as a spacer
Link to your collections, sales and even external links
Add up to five columns
Add description, images, menus and links to your mega menu
A column with no settings can be used as a spacer
Link to your collections, sales and even external links
Add up to five columns
Add description, images, menus and links to your mega menu
A column with no settings can be used as a spacer
Link to your collections, sales and even external links
Add up to five columns
Add description, images, menus and links to your mega menu
A column with no settings can be used as a spacer
Link to your collections, sales and even external links
Add up to five columns
DIY Tutorial: How to Make Tulle Bows for Chairs
April 07, 2017 2 min read

How To Make your own Tulle Chair Bow
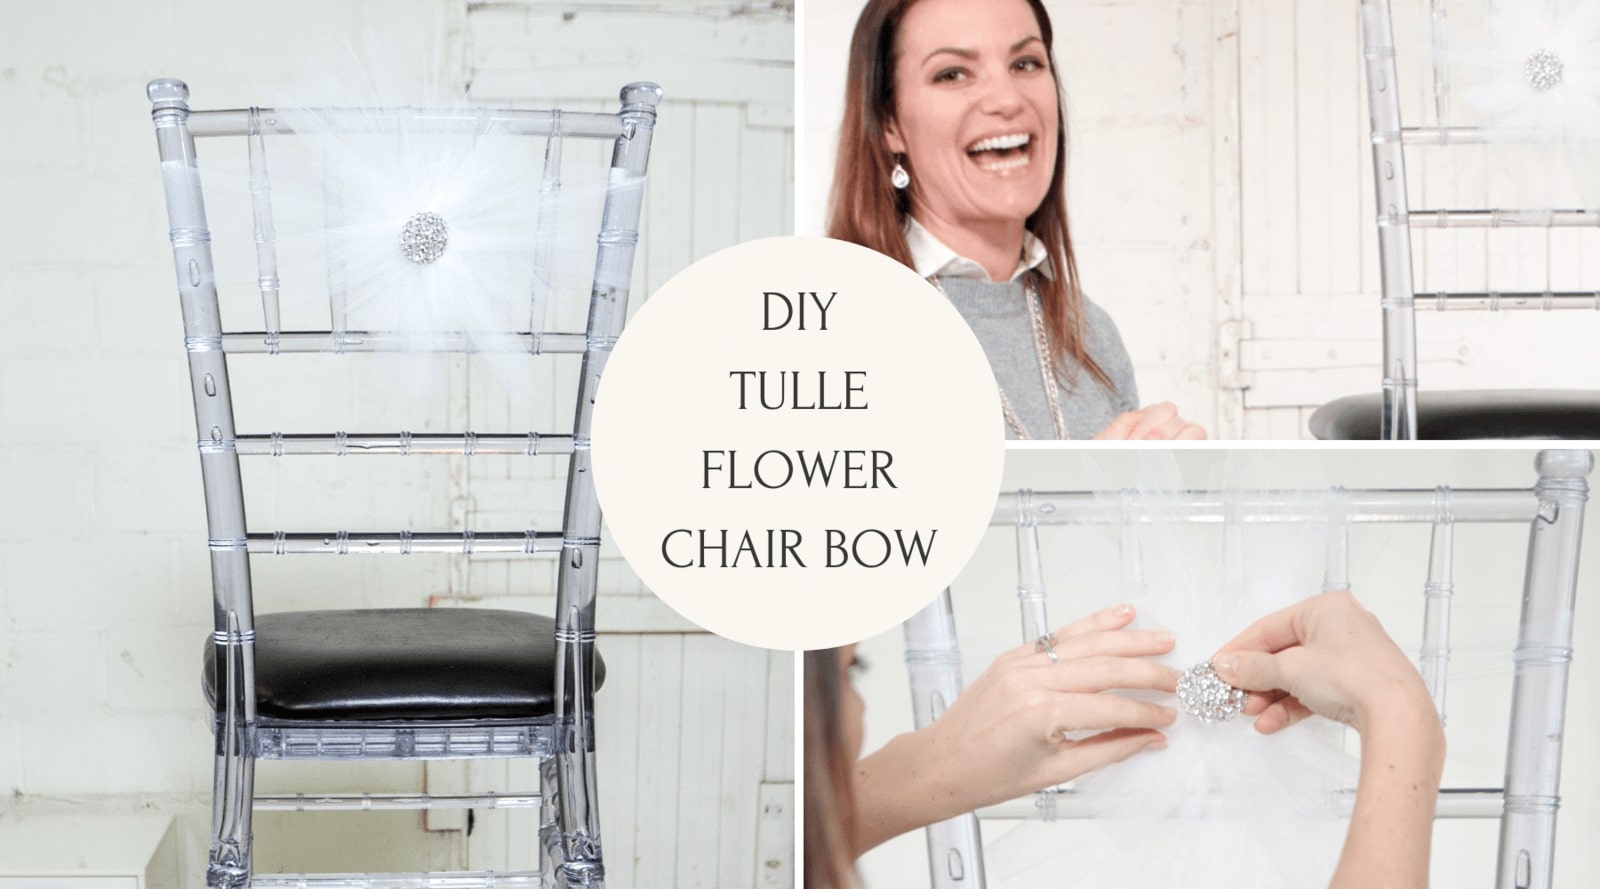
We're kicking this week's tutorial off with a super simple DIY that looks beyond amazing when finished. This DIY tulle flower bow takes only a few minutes to make, is relatively cost effective and so easy to customize to your personal taste.
I've chosen to use white tulle and the gorgeous silver rhinestone flower brooch but there's no stopping you from using the color tulle of your choices and any brooch, slider buckle or flat back of your choice. The brooch was my first choice as it's easy to add to any material surface and you can easily reuse it without any fuss or mess.
Shop Silver Flower Rhinestone Brooches!
Watch How We Make Tulle Bows for Chairs
In order to make the DIY tulle flower chair bow you'll need:
- a length of 6-inch wide tulle ribbon
- Your choice of Rhinestone Brooches
- 2 pieces of cardboard cut to 7 inches and 12 inches in length
- A ruler (for measuring your cardboard pieces)
- Scissors
- Glue Gun
After measuring and cutting your two pieces of cardboard to 7 inches and 12 inches, start with the 12-inch cardboard and wrap the tulle around the length of the cardboard 6 times. and cut off. Cut a small piece of tulle to tie your wrapped fabric as close to the center as possible. Once securely tied, slip the tulle off the cardboard and trim the ends - this is what gives the flower its petals. Fluff out the flower and neatly arrange the petals. You've just made your first flower.
For the second flower, you'll repeat the process, however, this time you'll wrap the tulle around the 7-inch cardboard only 4 times. Once you've made your second flower, simply use the hot glue to attach the smaller flower to the center of the larger flower for that gorgeous layered look.
With your flowers done, it's time to attach them to the chair. Measure a length of tulle for this purpose. Leave enough room in the length of tulle to tie your flower to the chair. You can also glue the flower to the tulle you've attached to the chair if you prefer.
Once that's done, all that's left to do is to attach your brooch to the center of the flower.
Check our blog for more chair sash ideas and tutorials.
Quick Ideas
Play around with different types of material for a different end product. for gentle fusions, why not try combining two colors in tulle? Lavender and silver for a lavender wedding theme, green and white for a greenery wedding theme, and so on.
Go for any brooch that suits your theme and personal tastes best. If you're looking for more bling on each chair, pair brooches for a glamorous look.
You can even play around the with the design of the chair to change the look and feel up a little. Remember that these easy DIY tulle flower chair bows are great to store, so keep them on hand for your next big event or occasion.
Shop the Rhinestone Products we used in our centerpiece
Take a look at our Lookbook 2016 Pinterest Board


