FREE DOMESTIC SHIPPING ON ORDERS $99+ | 100% SATISFACTION GUARANTEED
A column with no settings can be used as a spacer
Link to your collections, sales and even external links
Add up to five columns
A column with no settings can be used as a spacer
Link to your collections, sales and even external links
Add up to five columns
Add description, images, menus and links to your mega menu
A column with no settings can be used as a spacer
Link to your collections, sales and even external links
Add up to five columns
Add description, images, menus and links to your mega menu
A column with no settings can be used as a spacer
Link to your collections, sales and even external links
Add up to five columns
Add description, images, menus and links to your mega menu
A column with no settings can be used as a spacer
Link to your collections, sales and even external links
Add up to five columns
Add description, images, menus and links to your mega menu
A column with no settings can be used as a spacer
Link to your collections, sales and even external links
Add up to five columns
December 04, 2018 3 min read
Hey Everyone!
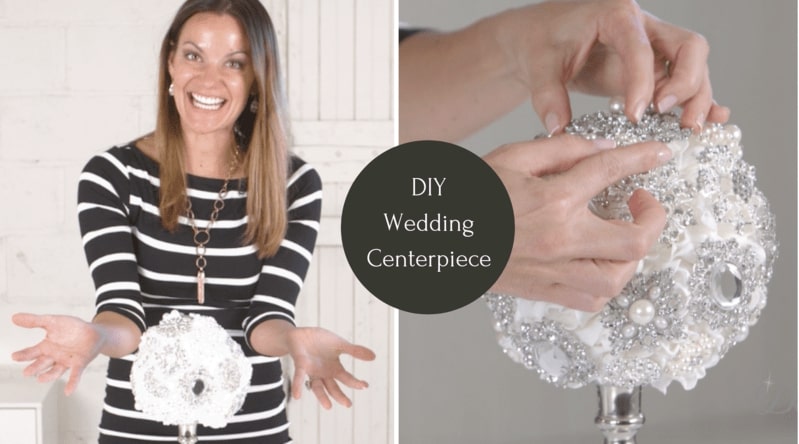
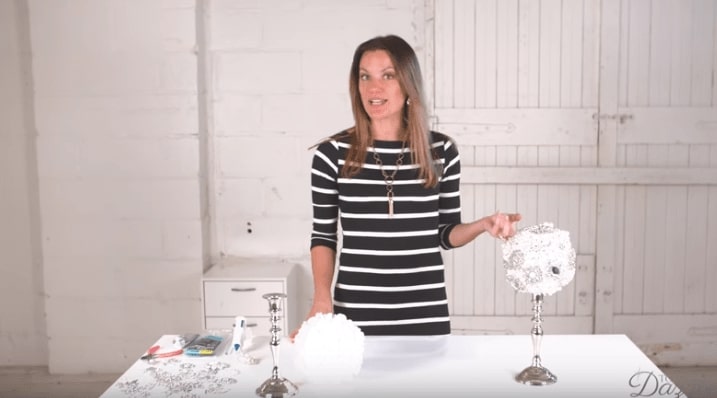
I’m so excited to share with you another simple and easy to make DIY for your wedding and other events. This one is the same as the brooch bouquet tutorial that we made but with a little twist.
We think a wedding brooch bouquet centerpiece is the perfect addition to a rhinestone wedding theme! They offer so much sparkle and are a lot of fun to make!
Beautiful centerpieces for your event tables can very often be the highlight of wedding décor as they not only fill the table but add gorgeous eye-catching design elements that suit the concept. So getting it right and creating a tutorial that knocks your socks off is a huge source of joy for me.
So to kick off this tutorial, let's get started with the items you'll need.
In order to make your DIY brooch bouquet centerpiece you’ll need:
We have a plethora of brooches for sale on our website that would be ideal to use in this brooch bouquet centerpiece. Our collection includes both silver brooches and gold brooches to suit your wedding style. And of course, our wholesale rhinestone pins and embellishments are always on offer at terrific prices!
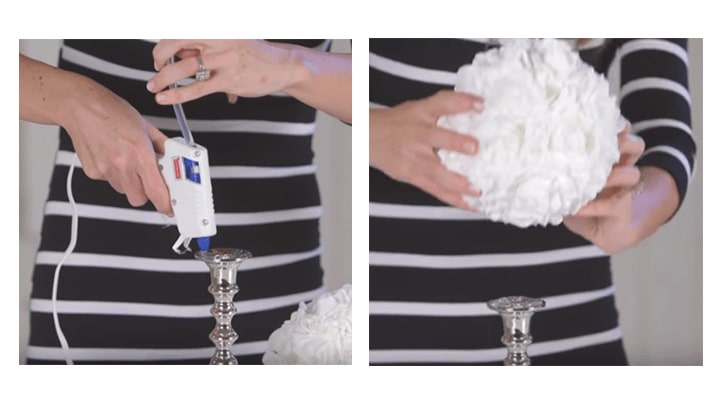
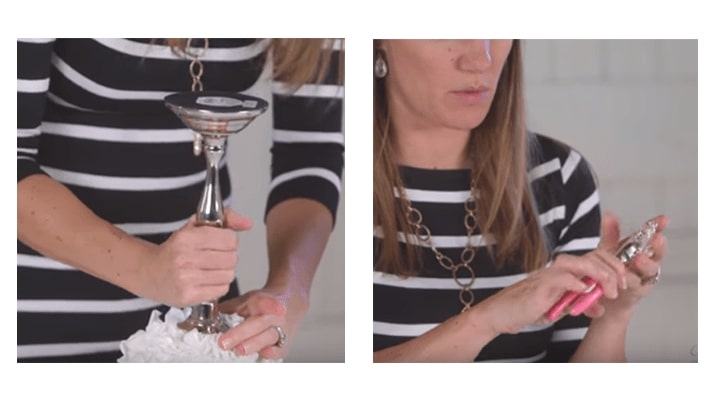
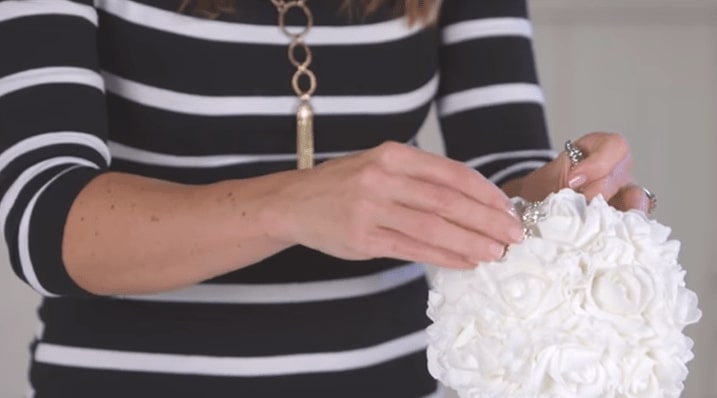
The first thing to do is glue the flower ball to the candlestick. Be sure you find a stable and balanced spot. Next, glue your rhinestones to the flower bouquet. For today’s tutorial, I’ve used an assortment of medium and large -size silver brooches and buckle slides of varied styles and sizes to give it that gorgeous layered and designed look that we all love so much.Take note that for brooches, you need to remove the backings first before you could use it. A little twist using a wire cutter will easily remove those little metal backings.
Apply a generous amount of glue to the edges of the brooches so it clings to the flower petals and does not fall off easily.
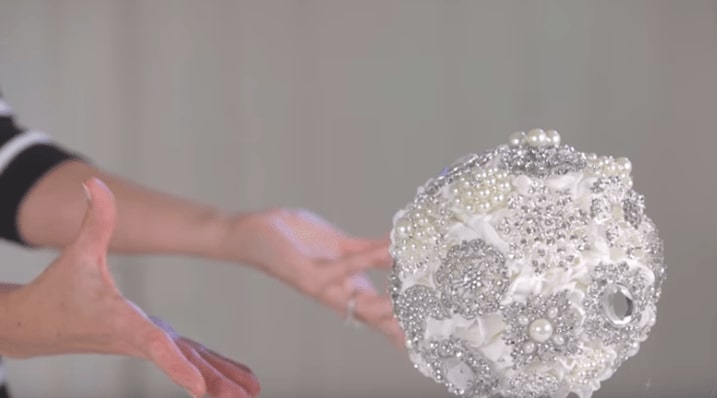
Fill the desired petals with brooches and buckles according to your preference. Leave spaces for some petals to show up. If you want a full bloom brooch bouquet ball, you can add up small brooches and buttons to fill in the small gaps.
The ability to decide how many diamante brooches you want to include in your floral arrangement also gives you much more control over the final cost of your project and how much time you want to invest in making it. Adding wire stems to our wedding brooches is a fairly simple process BUT it can be VERY time consuming if your project includes a lot of bling. So, if you decide to tackle this wedding DIY project be sure to allocate a lot of time for it! :)
Changing the assortment of bling can also drastically change the look, so choose pieces that suit your theme and communicate the atmosphere you’re trying to create.
We hope you enjoy this video tutorial and we would love to see photos of the brooch bridal bouquet you make for your big day! Wishing you lots of fun crafting your DIY brooch bouquet centerpiece!