FREE DOMESTIC SHIPPING ON ORDERS $99+ | 100% SATISFACTION GUARANTEED
FREE DOMESTIC SHIPPING ON ORDERS $99+ | 100% SATISFACTION GUARANTEED
A column with no settings can be used as a spacer
Link to your collections, sales and even external links
Add up to five columns
A column with no settings can be used as a spacer
Link to your collections, sales and even external links
Add up to five columns
Add description, images, menus and links to your mega menu
A column with no settings can be used as a spacer
Link to your collections, sales and even external links
Add up to five columns
Add description, images, menus and links to your mega menu
A column with no settings can be used as a spacer
Link to your collections, sales and even external links
Add up to five columns
Add description, images, menus and links to your mega menu
A column with no settings can be used as a spacer
Link to your collections, sales and even external links
Add up to five columns
Add description, images, menus and links to your mega menu
A column with no settings can be used as a spacer
Link to your collections, sales and even external links
Add up to five columns
Bow Fold Napkin Tutorial with Ring - YouTube Tutorial
January 26, 2018 2 min read
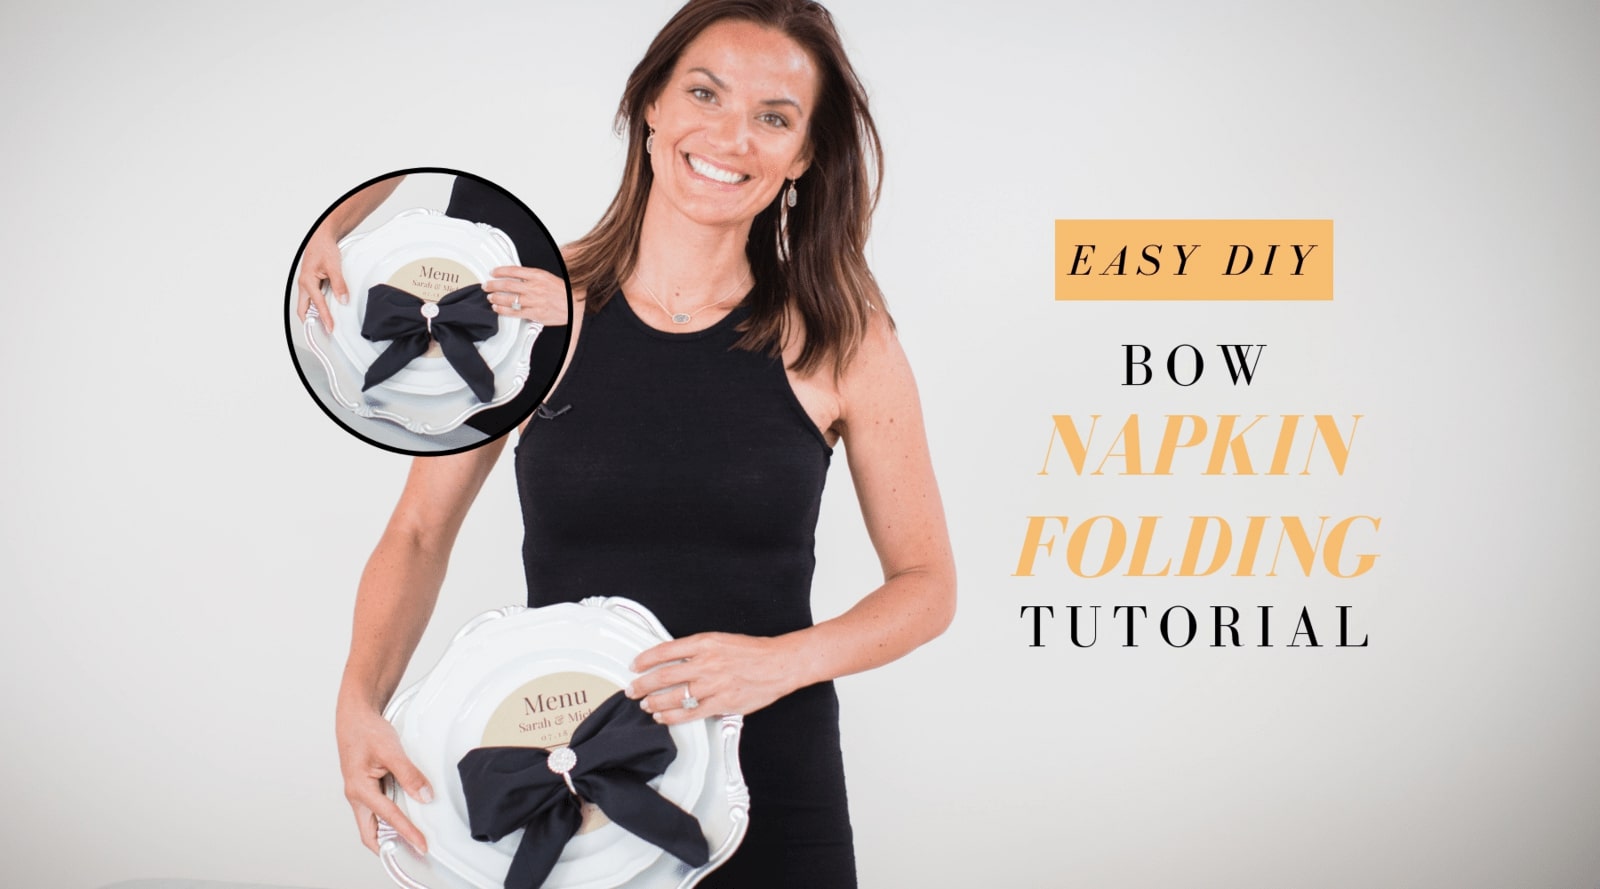
Such a cute addition to a feminine themed wedding or event
The bow fold has long been one of my all-time favorite napkin folds as it's super quick and easy to put together and with a touch of bling it looks absolutely gorgeous.
This fold is great for any feminine theme and works perfectly for those of you who are putting an event together on a deadline. It's also extremely cost effective and open to all kinds of style variations.
Watch the tutorial
I love exploring new napkin folds. Creating a pretty display on the place setting is so easy to do with a unique and well-thought-out napkin fold and that's why I've decided to create a series of napkin fold tutorials, featuring some of our Totally Dazzled napkin rings, to make your job designing the perfect event table setting just that little bit easier.
Our most recent napkin fold tutorial, the envelop napkin fold, is another of my favorites as it's a lovely and practical way of displaying your important items on the table like menu cards, party favors, and even special thank you notes to your guests.
With that said, let's get into today's napkin fold tutorial.
What you'll need to create your own bow-fold napkin
- A napkin
- A rhinestone napkin ring of your choice - I've made use of the silver rhinestone napkin ring for this tutorial
As I mentioned earlier, this fold is incredibly easy to pull off. Start by folding your napkin diagonally to create a large triangle shape. Then, fold your napkin down a little at a time, starting from the point of your triangle, to create an accordion. Fold one point of your accordion just past halfway and fold the other point of your accordion the same. You'll now notice the bow starting to take shape. To secure your bow, simply slip on your napkin ring (don't worry if your bow goes a little out of shape, you'll tweak it once your napkin ring is in place.)
Arrange the napkin ring in the middle of the bow and fluff the sides up a little to give your bow that pretty and full look. And that's it. In just a few simple steps you've created an absolutely gorgeous bow fold that will look stunning and elegant on a wedding table.
This fold is incredibly versatile and depending on your choice of napkin material as well as your bling, you could take this fold in all kinds of directions. Create a pretty bow with a lovely satin feel for a baby shower (or why not use toweling diapers for a unique effect). Girl's birthday parties, mother's day celebrations, Easter lunches and even a romantic dinner for two are just some of the events that this type of fold would suit.
If you'd like to see more videos like these, please consider subscribing to our channel for our weekly video tutorials where we try and make your DIY experience as exciting and as easy as possible for you. Our DIYs are always sparkly and budget friendly.

