FREE DOMESTIC SHIPPING ON ORDERS $99+ | 100% SATISFACTION GUARANTEED
FREE DOMESTIC SHIPPING ON ORDERS $99+ | 100% SATISFACTION GUARANTEED
A column with no settings can be used as a spacer
Link to your collections, sales and even external links
Add up to five columns
A column with no settings can be used as a spacer
Link to your collections, sales and even external links
Add up to five columns
Add description, images, menus and links to your mega menu
A column with no settings can be used as a spacer
Link to your collections, sales and even external links
Add up to five columns
Add description, images, menus and links to your mega menu
A column with no settings can be used as a spacer
Link to your collections, sales and even external links
Add up to five columns
Add description, images, menus and links to your mega menu
A column with no settings can be used as a spacer
Link to your collections, sales and even external links
Add up to five columns
Add description, images, menus and links to your mega menu
A column with no settings can be used as a spacer
Link to your collections, sales and even external links
Add up to five columns
DIY Bling Vase with Rhinestone Mesh Ribbon
August 19, 2016 3 min read
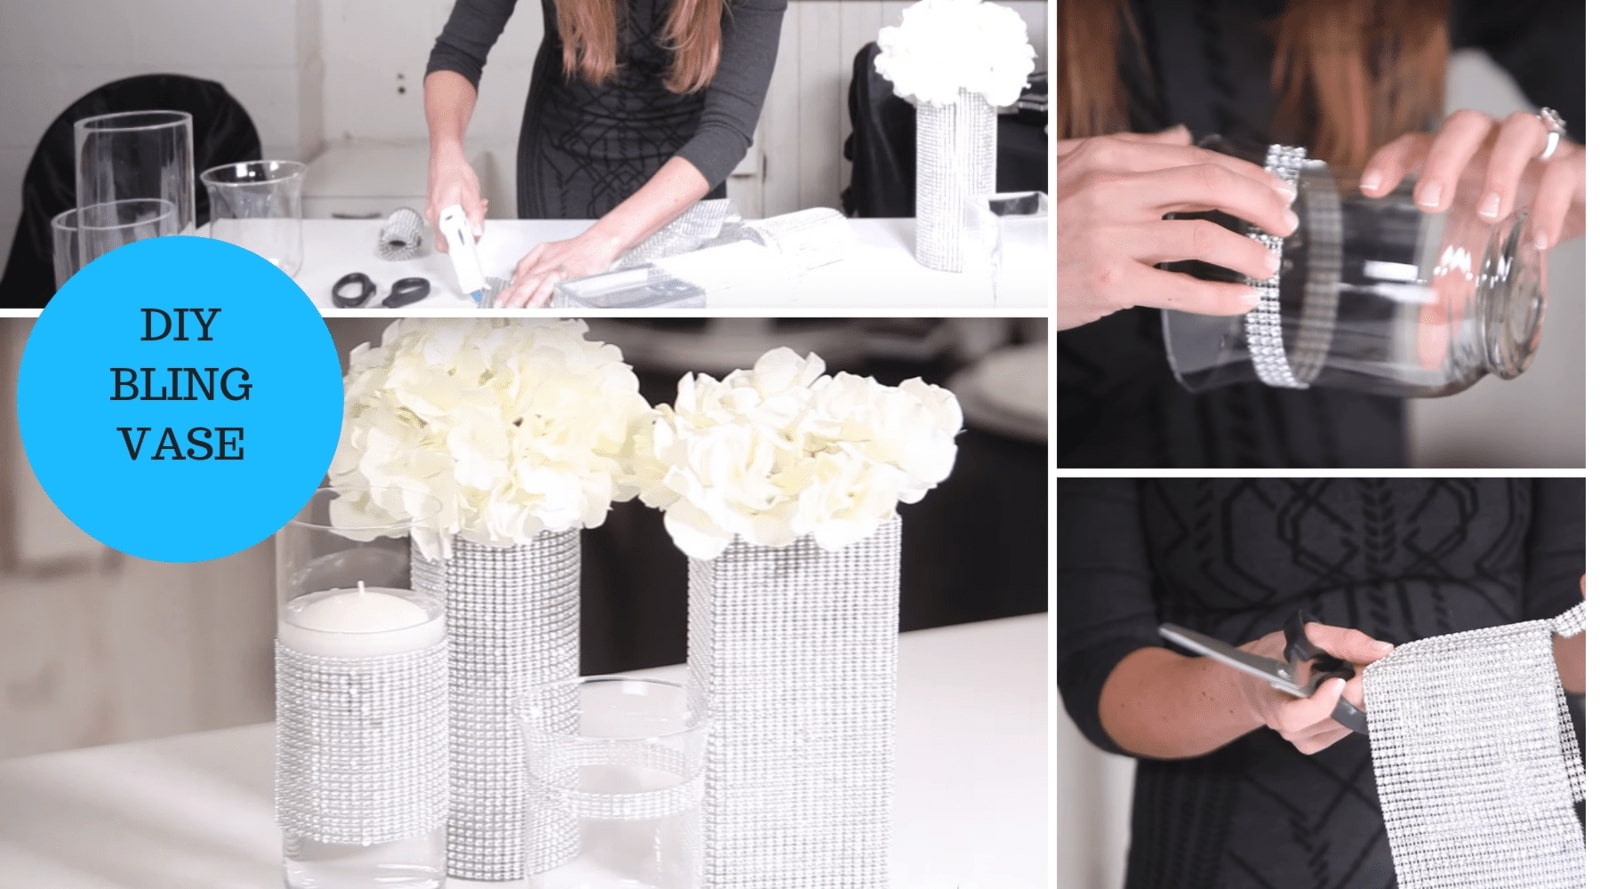
How to make a set of stunning DIY Rhinestone Vases.
I’ve got another really simple but fantastic tutorial to share with you. A little while ago I featured a similar DIY tutorial for Rhinestone Mesh Wrap Candle Holders that uses the same concept for fairy lights around the house, to use in your event or to style your wedding tables. Today’s tutorial is practically the same but I wanted to showcase the versatility of the Bling Wrap Collection for different sizes, shapes, and uses.
Affordable DIY Rhinestone Vases
I love the idea of adding bits of sparkle to liven up an event or wedding, unfortunately, we all know that sparkle can be quite costly. I’m hoping to show you that it really doesn’t have to be and you can make quality vases for your events that you can [and will definitely want to] use over and over again.
In sticking to the theme of ALL our DIY tutorials, this one is a cost-effective make-it-yourself project, it’s also not very time-consuming making it the perfect day-before DIY for busy brides or event planners.
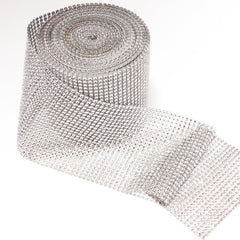
Also, if you want to get creative with your vases, the colors and the combination of table settings, these are bound to look great, no matter what. For this tutorial, I decided to keep it simple, I’ve used dollar store glass vases and decorated the outside of the vase with one layer of our rhinestone mesh ribbon. One of our most popular styles of bling wrap is our Rose Gold Bling Wrap, each roll gives you 10 yards of sparkling mesh ribbon. And actually, that’s about it, that’s how gloriously simple it is to add sparkle to your event styling.
In order to make your DIY bling vase you’ll need:
- A length of Rhinestone Mesh Ribbon (we sometimes call it Bling wrap or Bling-On-A-Roll)
- A pair of scissors
- A glue gun, glue dots or E-6000. I prefer working with a glue gun as its much easier to use but every DIY crafter has their own preference. Use what works for you.
This works wonders for table settings, as well as feature flower arrangements and will look stunning weather you have an extravagant arrangement of flowers, or just a single flower placed in your vase.
Quick inspiration:
- Vary the vase lengths to create a lovely layered look on your tables. Two to three varied vase lengths can really add a special touch to your table settings
- Create a flower pattern using the vases for a pretty round table centerpiece. I suggest using a single tall vase with smaller vases arranged around it (in a flower pattern). Here you can still add elements of your choice to add to the character of the centerpiece. Foliage, organza, and other bling pieces will look fantastic here.
Getting creative with the shape of the vase can become a bit tricky if you have a vase that varies in shape. For example, if you have a vase with a wider neck and a thinner base and you plan on decorating the entire vase. I’ve added a few suggestions for how to do this successfully in the video tutorial, but note that it is slightly more time consuming than simply covering a square or circular vase. However, it CAN be done and it will look fantastic should you have the extra time to do so.
We’d really love to see your DIY wedding vases, if you’d like to share them with us on Instagram, don’t forget to use the #totallydazzled hashtag.
Explore more Rhinestone Embellishment DIY Projects and Video Tutorials on our blog!

