FREE DOMESTIC SHIPPING ON ORDERS $99+ | 100% SATISFACTION GUARANTEED
FREE DOMESTIC SHIPPING ON ORDERS $99+ | 100% SATISFACTION GUARANTEED
A column with no settings can be used as a spacer
Link to your collections, sales and even external links
Add up to five columns
A column with no settings can be used as a spacer
Link to your collections, sales and even external links
Add up to five columns
Add description, images, menus and links to your mega menu
A column with no settings can be used as a spacer
Link to your collections, sales and even external links
Add up to five columns
Add description, images, menus and links to your mega menu
A column with no settings can be used as a spacer
Link to your collections, sales and even external links
Add up to five columns
Add description, images, menus and links to your mega menu
A column with no settings can be used as a spacer
Link to your collections, sales and even external links
Add up to five columns
Add description, images, menus and links to your mega menu
A column with no settings can be used as a spacer
Link to your collections, sales and even external links
Add up to five columns
Envelope Napkin Fold - YouTube Tutorial
January 12, 2018 2 min read
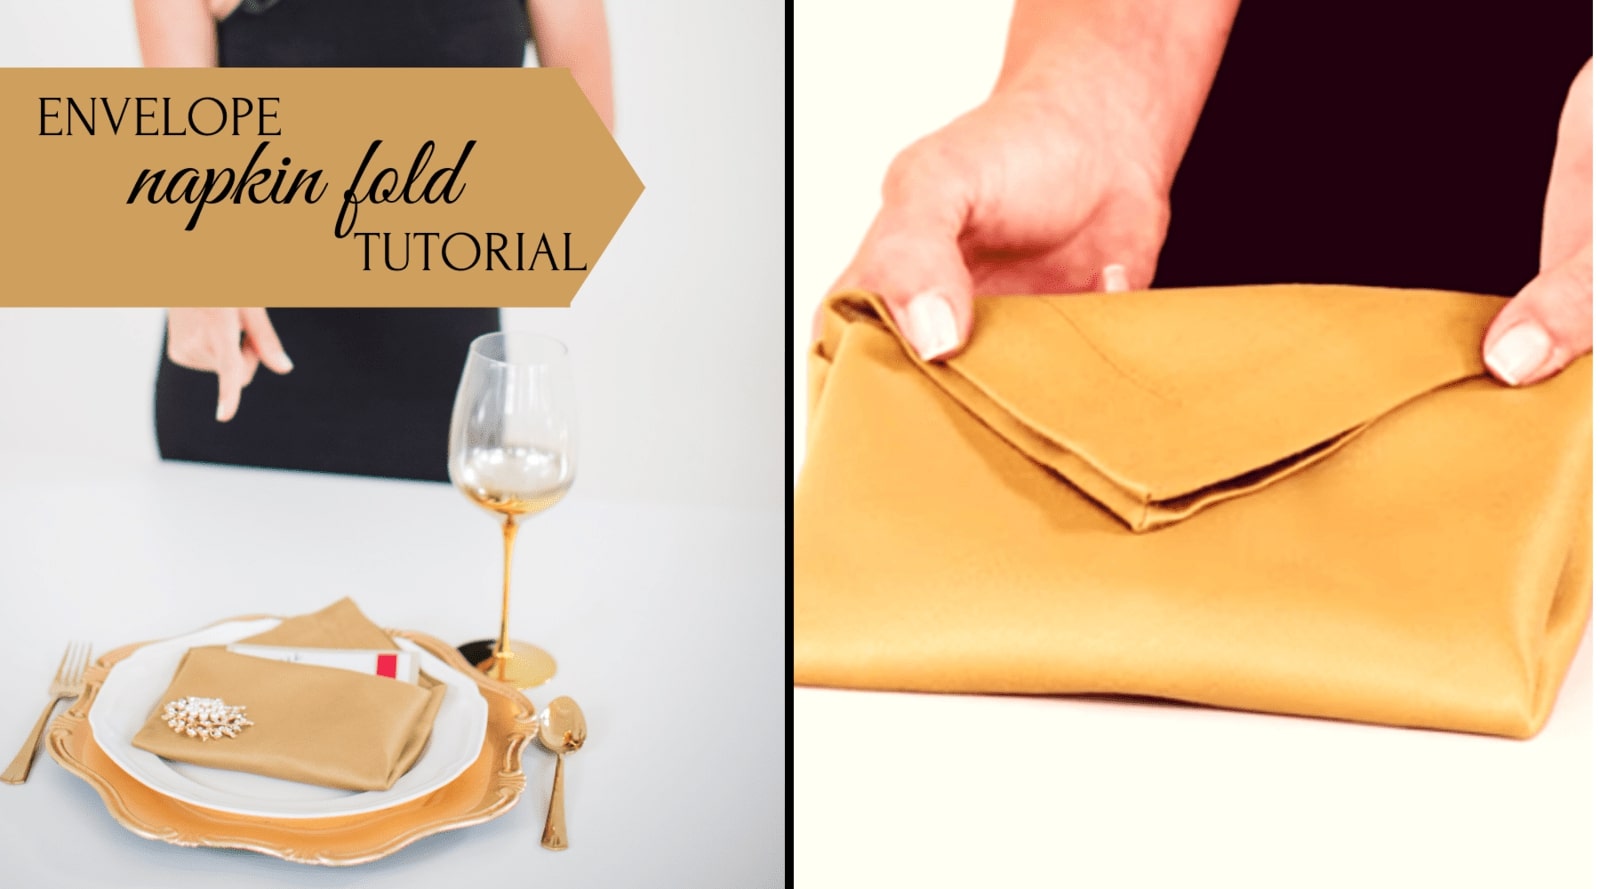
The perfect way to decorate an intimate place setting - with an envelope napkin fold!
I am loving today’s tutorial so much for so many reasons. This awesome envelope napkin fold is another one of our super easy, crazy cost-effective, and easy to bling up as much as you like tutorials.
The envelope fold, apart from being a lovely elegant fold, looks great on the table and can double up as a place to put important info. Menus, thank you notes, party favors, special gifts, anything really that you’d like to add to the table without being immediately visible can simply be slipped in between the folds.
Watch the tutorial
This no-sew, no-glue, no-fuss tutorial is great as all it needs is a napkin and, of course, your choice of bling to add some gorgeous sparkle to your place setting. I suggest using a beautiful brooch as it’s easy to add to the envelope napkin after folding and looks amazing. A pretty brooch like the one I used from our gold with pearl and clear rhinestone pieces bulk embellishments will also make a wonderful keepsake for your guests that they can add as an accessory to home decor items.
The envelope fold – it couldn’t be easier
Start by folding your square napkin in half (corner to corner) to make a triangle. Then find your center point and fold in the corners from the bottom of the triangle to touch the centreline. Repeat the step one more time. You should now be left with two flaps and a triangle at the top.
Fold the bottom up to the top of where the base of the triangle begins and then simply fold the triangle over to finish off your envelope fold. It really is as easy as that and it looks so elegant on the table.
Adding the final touch
You all already know how much I love adding a bit of bling to the projects I make in these tutorials. I’ve chosen a gorgeous pearl and gold brooch to compliment the gold napkin I used in the tutorial but go ahead and choose a brooch that will convey your wedding or event theme. A little bit of bling can communicate the style in a subtle but eye-catching way while still maintaining that sense of elegance for a wedding.
This napkin fold is great for any kind of event and by simply using a different color or napkin texture, you can add it to just about any event style. I love the fact that there’s place to slip a few small items in, making it a very intimate option for things like a beautiful handwritten note or a special gift. Valentine’s day is coming up very soon and this envelope napkin fold will definitely work as a beautiful place setting with that extra something special tucked in between the napkin folds.
However you decide to style your envelope napkin fold, I’m sure it’ll look amazing. As always, have fun and let your creative side go wild with the endless possibilities.

